
How to Install Starlink in 3 Simple Steps is a straightforward process that brings high-speed, reliable internet to your home, even in remote locations.
This guide will walk you through three easy steps to set up your Starlink system.
You'll have your fully functional connection by the end, ready to deliver fast internet access.
Understanding the Starlink Service
Starlink uses a network of low-Earth orbit satellites to provide global internet coverage, especially in rural and remote areas.
It offers lower latency and faster speeds than traditional broadband and satellite services.
Starlink's subscription plans start at a competitive price, offering high-speed internet without data caps.
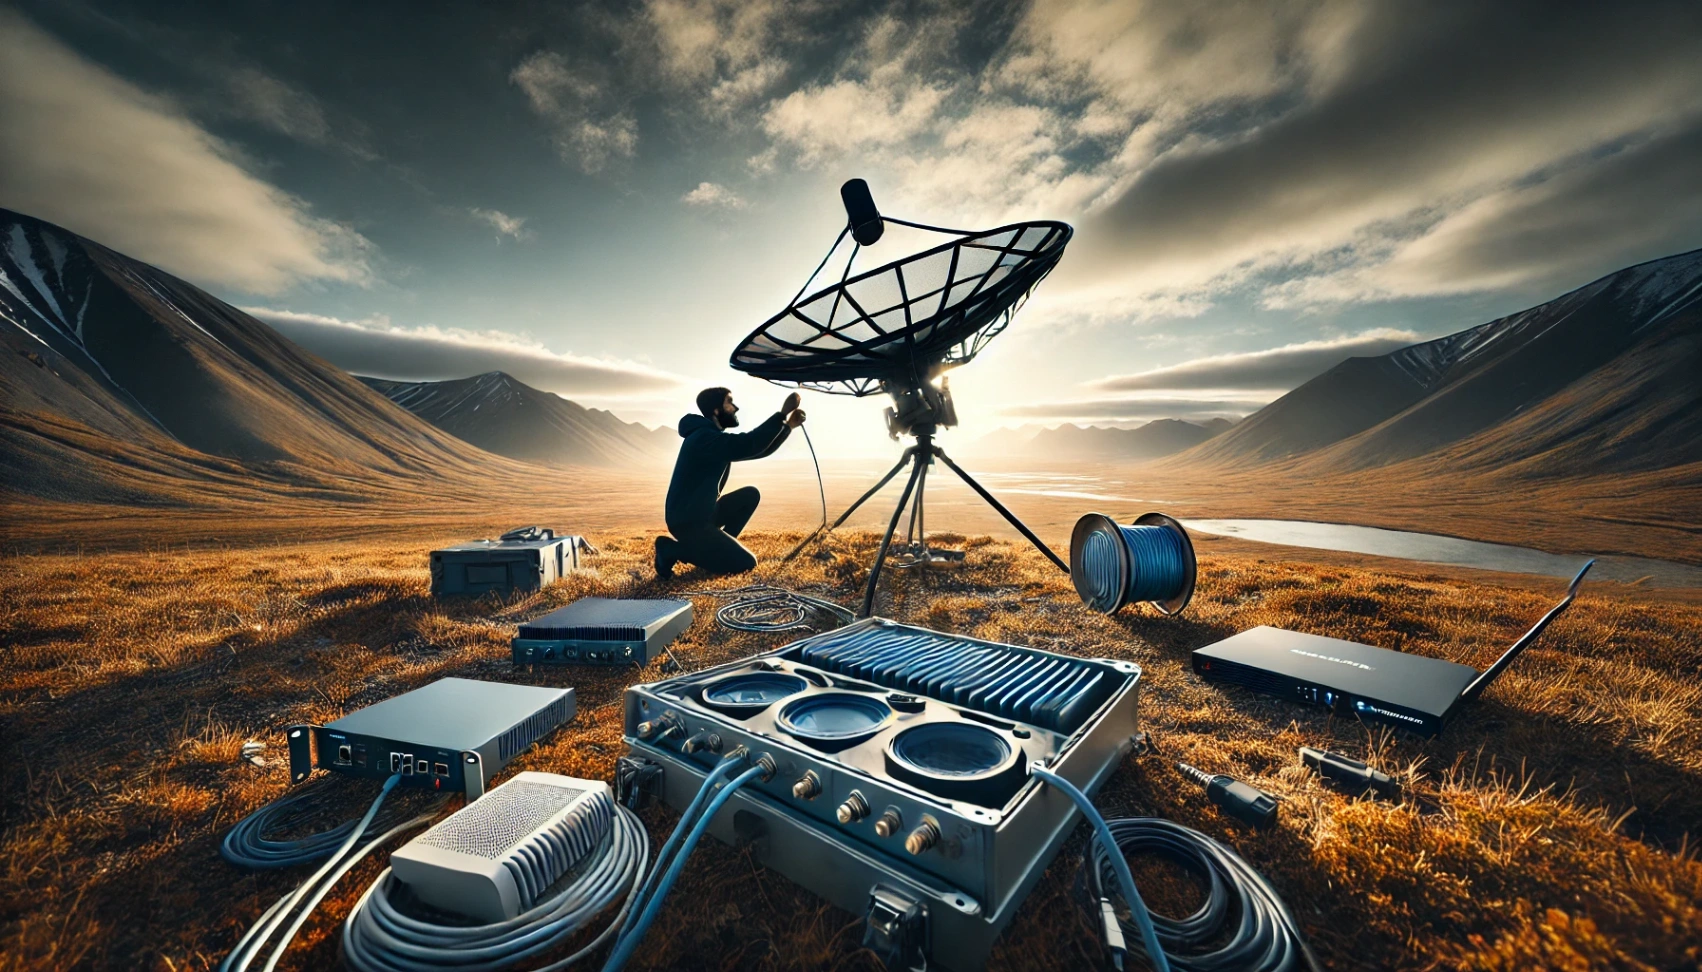
Step 1: Unbox and Set Up the Starlink Kit
The first step in installing Starlink is to unbox and set up the kit properly. Here is a simple guide to ensure you do it correctly:
- Unbox Kit: Open the kit and check all components are included—satellite dish, router, power cables, mount, and any additional hardware.
- Select Location: Find a spot with a clear sky view, free of obstacles like trees or buildings. You'll need a stable surface for the dish mount.
- Assemble Dish: Follow the instructions to set up the dish using tools like a wrench or screwdriver, and secure all necessary cables.
- Secure Dish: Firmly mount the dish using the provided stand or custom mount, ensuring all hardware is tightly fastened.
Choosing the Best Location for the Dish
Choosing the best location for your Starlink dish is crucial for strong signal reception. Follow these key points to ensure optimal performance:
- Clear View of the Sky: Make sure the dish has an unobstructed view of the sky, free from trees, buildings, or other objects.
- Elevation: Lowering the dish (roof or elevated pole) can improve signal strength.
- Avoid Obstructions: Protect the dish from potential blockages like tall structures or dense foliage.
- Weather Considerations: Ensure the dish is in a stable location that can handle wind, rain, or snow without being disrupted.
- Access for Maintenance: Choose a location where you can easily reach the dish for adjustments or cleaning.
Step 2: Connect the Equipment
Connecting your Starlink equipment correctly is vital for getting the system up and running smoothly.
Follow these steps to ensure everything is set up correctly:
- Connect the Dish to the Router: Use the provided cables to connect the satellite dish to the router securely.
- Power Up the Devices: Plug the dish and router into a power source, ensuring all connections are secure.
- Cable Management: Arrange the cables neatly and protect them from weather exposure.
- Check Indicator Lights: Look for the router and dish lights to confirm the system is powered and connected.
- Test Initial Signal: Use the Starlink app to verify that the dish receives a signal from the satellite.
Verifying Signal Reception
To ensure your Starlink system gets the best possible signal, you must check the signal strength and make any necessary adjustments. Here's how:
- Starlink App Check: Open the app and monitor the signal strength reading. A strong signal will be indicated.
- Dish Indicator Lights: Refer to the lights on the dish, where green or solid lights typically confirm a good connection.
- Position Adjustment: If the signal is weak, slightly adjust the dish's angle or location for better reception.
- Clear Line of Sight: Make sure no new obstructions, such as trees or buildings, block the view.
- Monitor Changes: After each adjustment, check the app to confirm any improvements in signal strength.
Step 3: Activate and Test Your Internet
Activating and testing your Starlink internet is critical to ensure everything functions correctly. Follow these steps to complete the process:
- Download the Starlink App: Get the app from the App Store or Google Play to manage your setup.
- Activate the System: Follow the in-app prompts to connect the dish and activate your internet.
- Create Your Wi-Fi Network: Set up a new Wi-Fi network name and password for your devices.
- Run a Speed Test: Use the app to check your internet speed and verify performance.
- Adjust the Dish if Needed: Reposition the dish slightly and retest the signal if the speed is low.
- Monitor Connection Stability: Monitor the app to ensure consistent connectivity over time.
Testing Internet Speed
Running a speed test using the Starlink app is essential to check if your internet connection performs as expected.
Here's how to run the test and improve performance if needed:
- Open the Starlink App: Navigate to the speed test section within the app.
- Run the Speed Test: Follow the prompts to measure download and upload speeds and latency.
- Check Results: Compare the results to your expected speeds to see if they meet your needs.
- Optimize Dish Position: Adjust the dish slightly to avoid obstructions if speeds are lower than expected.
- Re-run the Test: After adjustments, run the speed test again to see if performance has improved.
- Monitor Signal Strength: Keep checking the app regularly to maintain optimal performance.

Troubleshooting Common Issues
Troubleshooting common issues with your Starlink setup can help resolve connectivity problems quickly.
Here is a guide to addressing the most frequent issues:
- Weak Signal: Ensure the dish has a clear line of sight to the sky; adjust the position to avoid obstructions.
- No Power to the Dish or Router: Check all power connections and ensure the power supply is securely plugged in.
- Slow Internet Speeds: Run a speed test via the Starlink app and reposition the dish if needed for better signal strength.
- Wi-Fi Connection Drops: Move the router to a central location in your home for better coverage, or consider using a Wi-Fi extender.
- Weather Interference: In case of heavy snow, rain, or debris on the dish, clear it off to restore proper functionality.
- App Connection Issues: Restart the Starlink app or power cycle the dish and router to refresh the connection.
Starlink Equipment Maintenance
Follow these key maintenance steps to keep your system running smoothly:
- Clean the Dish Regularly: Remove dirt, snow, or debris that may accumulate on the dish and block the signal.
- Check for obstructions: Periodically inspect the dish's surroundings to ensure no new obstacles like trees or structures block the view of the sky.
- Inspect Cables: Ensure all cables are securely connected and not damaged or worn from weather exposure.
- Monitor for Software Updates: Keep the router and Starlink app updated to improve performance and security.
- Dish Alignment: Check the alignment periodically to ensure it remains optimal for the best signal reception.
- Weather Protection: Ensure the dish is secured against wind or heavy weather conditions to avoid disruption or damage.
Tips for Optimizing Starlink Performance
Optimizing its performance is vital to getting the most out of your Starlink setup. Here are five tips to help you achieve the best connection:
- Keep a Clear Sky View: Ensure nothing is blocking the dish's view of the sky.
- Raise the Dish: Mount the dish higher for better signal strength.
- Prevent Weather Disruptions: Remove any snow or debris that might accumulate on the dish.
- Strategic Router Placement: Position your router centrally in your home to boost Wi-Fi signal coverage.
- Regular Firmware Updates: Install the latest updates for improved system performance.
Final Thoughts
Setting up Starlink in three easy steps ensures you can enjoy reliable, high-speed internet in no time.
From unboxing to activation, it is a simple process that provides robust connectivity wherever you are.
Ready to enhance your internet experience? Get started with your Starlink installation now!


