
Notetaking is one of the most basic survival skills that helped me get through my university days. However, I always found myself fumbling through my notes and wanting to move my notes into a digital space.
Thanks to the Rocketbook app and its range of exquisite notebooks, storing and organizing my handwritten notes into my devices is easy.
Read on and learn what Rocketbook is, how to use it, and what my experience of using it has been.
- Rocketbook – An Easy Way to Move Notes Digitally
- Getting Started with the App
- Setting Up a Folder Destination
- Sending a Scan
- Using the App with Beacons
- Scanning Multiple Pages with Rocketbook
Rocketbook – An Easy Way to Move Notes Digitally
Rocketbook is an incredible company that creates innovative notebooks. I found its notebooks and products to be very practical because they can be reused. Some of my favorites are the Core and Mini notebooks, which can be reused endlessly. I also like the Wave notebook, in which contents can be erased by microwaving the notebook.
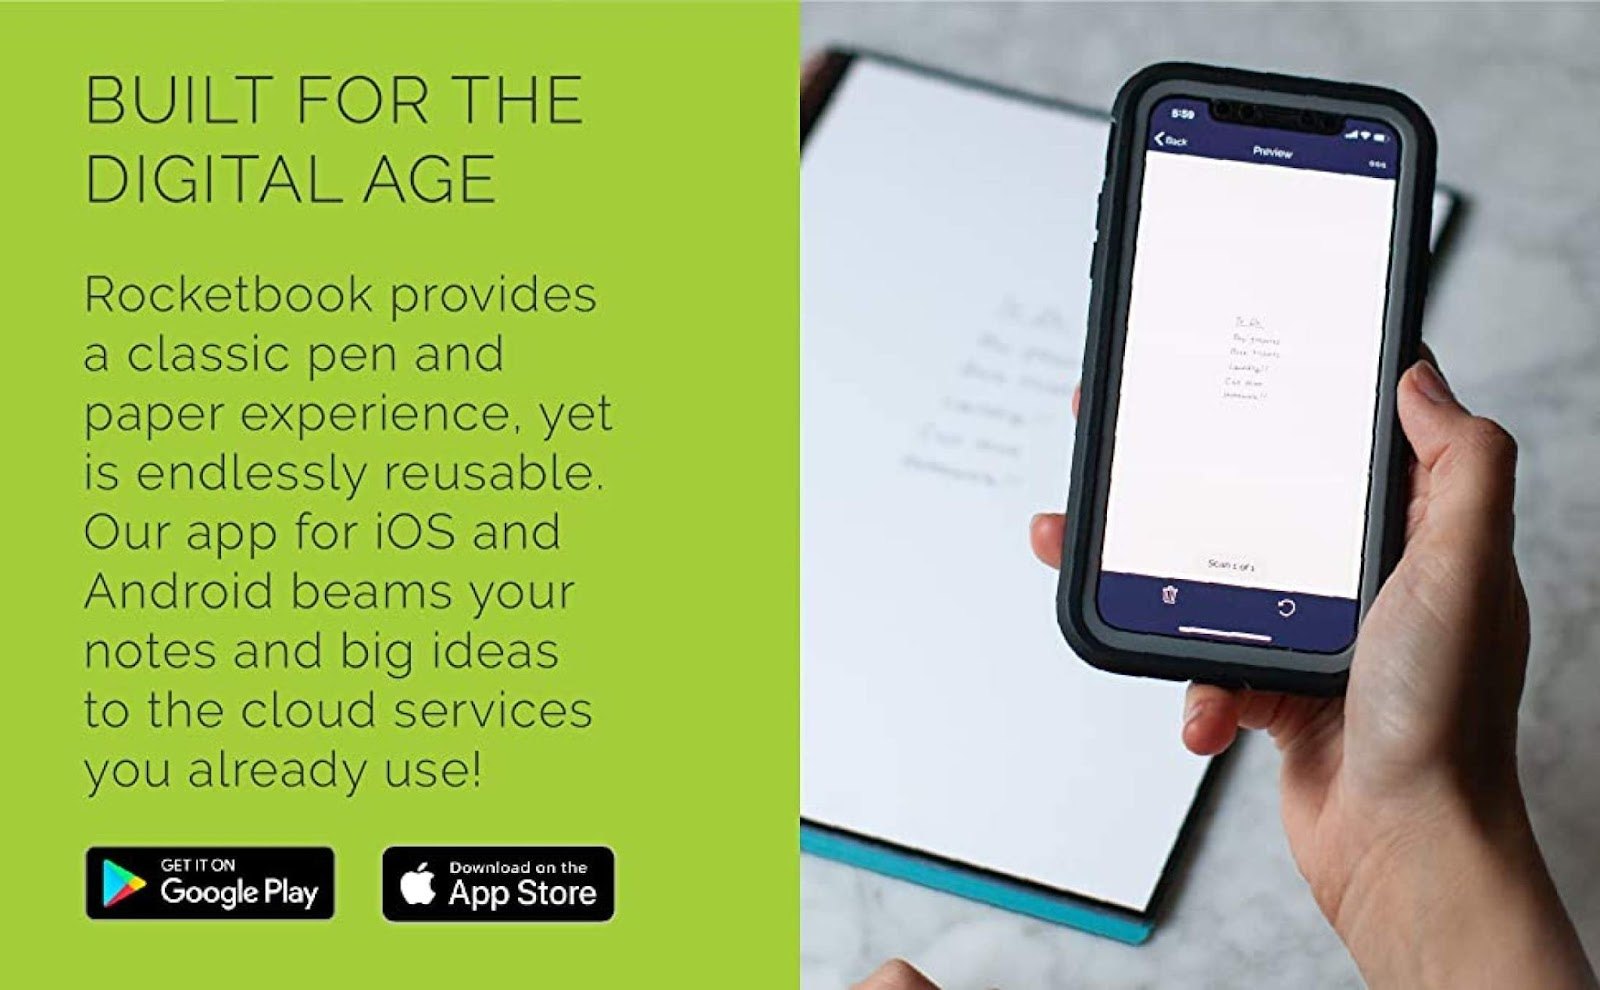
Other products include a reusable kid’s coloring book and whiteboards. Since I am an avid user of Rocketbook notebooks, I find the Rocketbook app to be very helpful because, through the app, I can scan my notes and organize them on my phone.
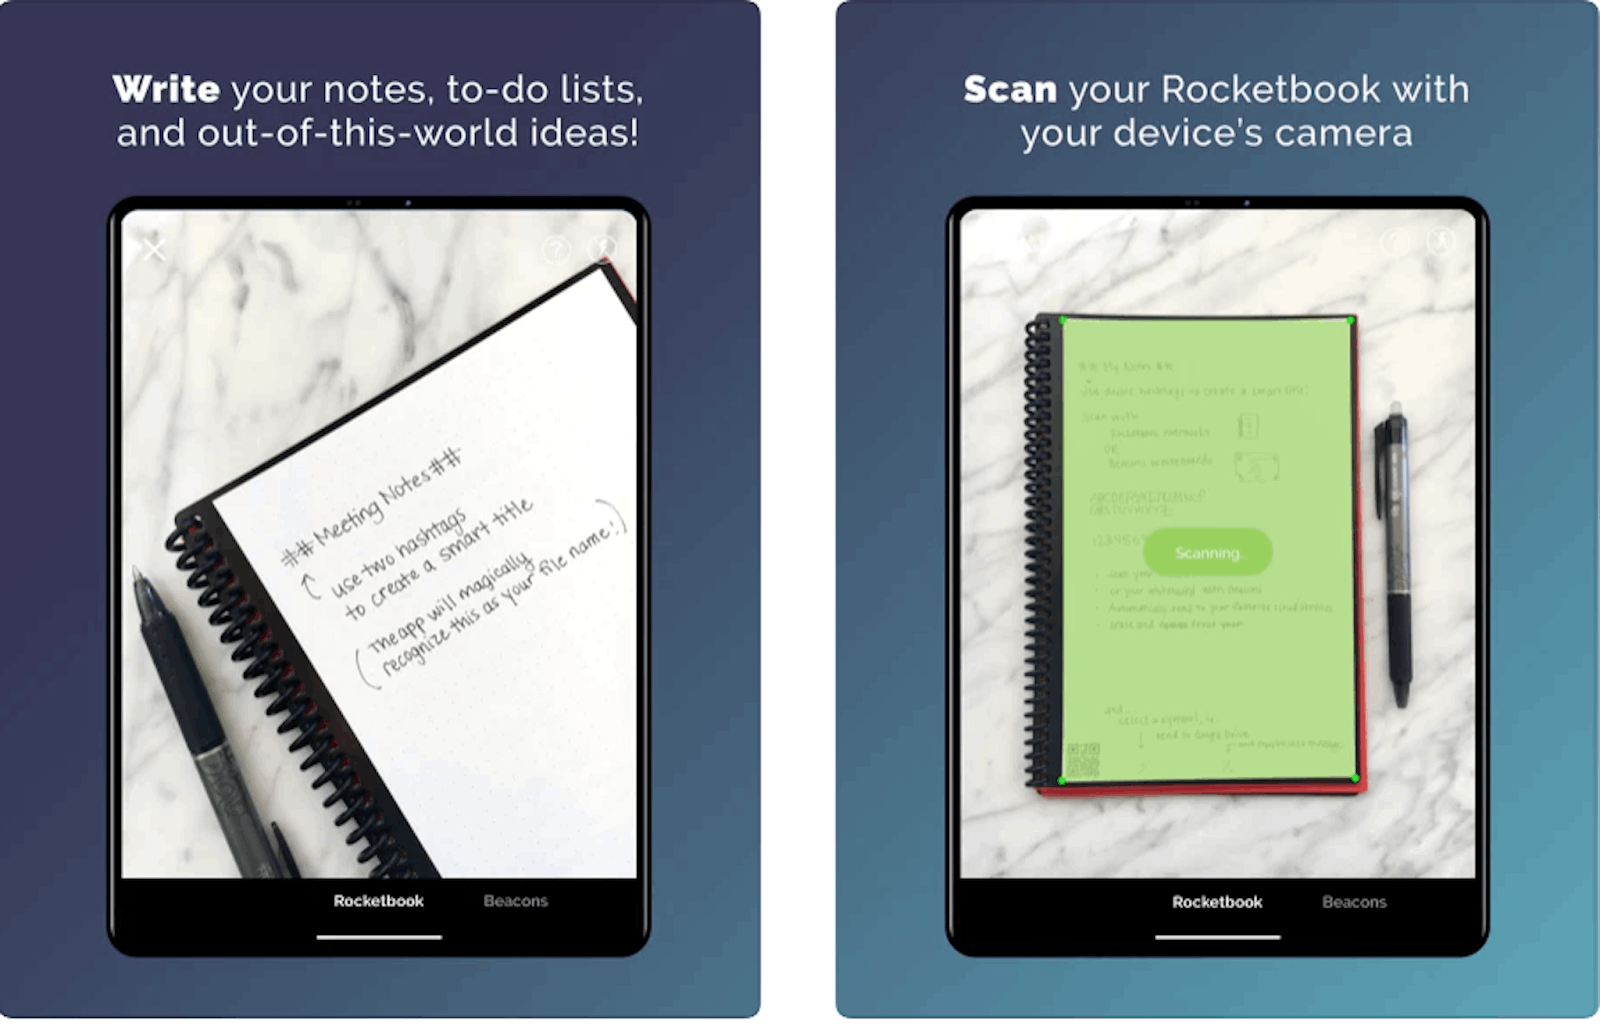
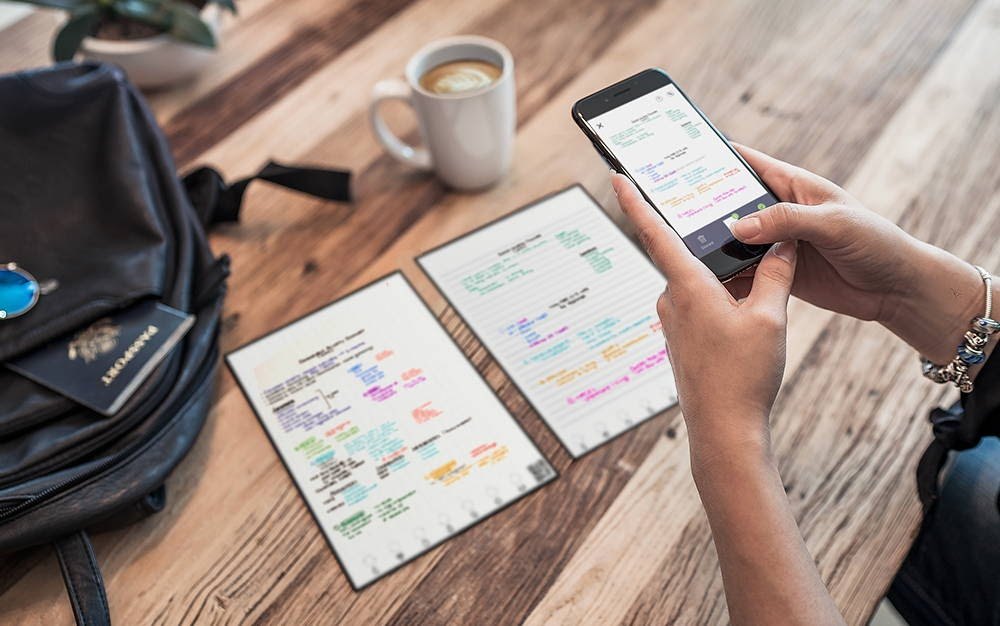
The app’s seven-symbol shortcut system automatically crops my notes and transforms them into high-quality scans that can be shared with others or stored in the cloud.
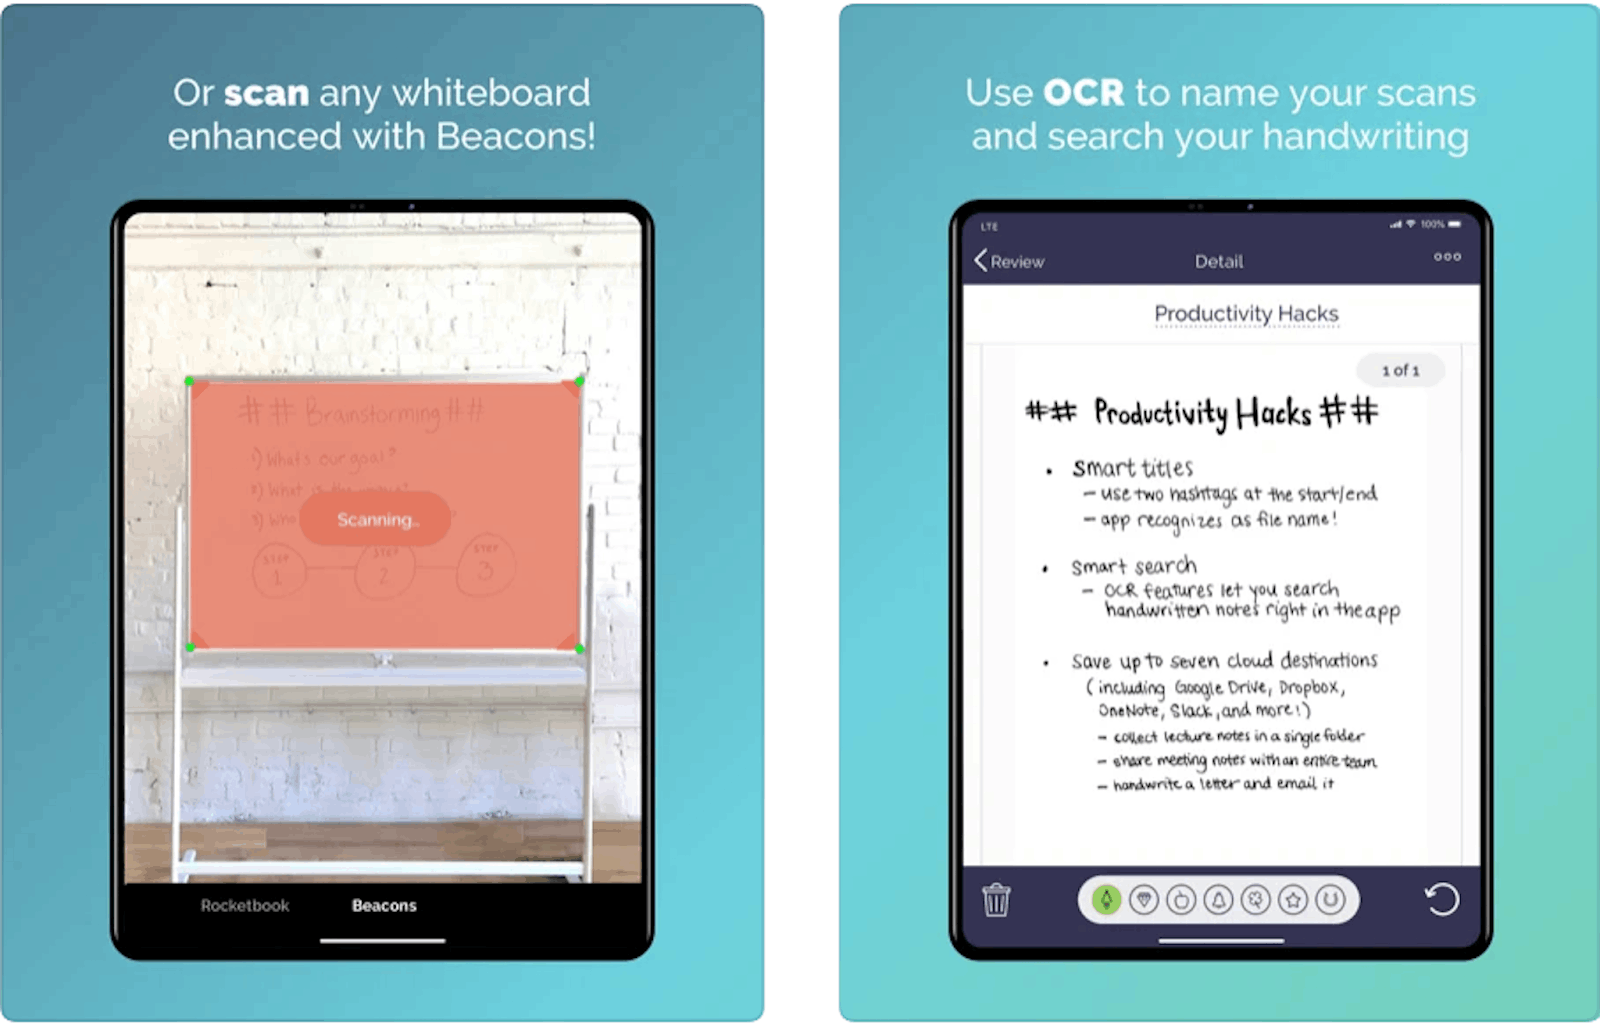
Its impressive Handwriting Recognition technology allows me to search my notes, use my handwritten text as the file name, and transcribe my notes as an email.
Storing My Notes on the Cloud
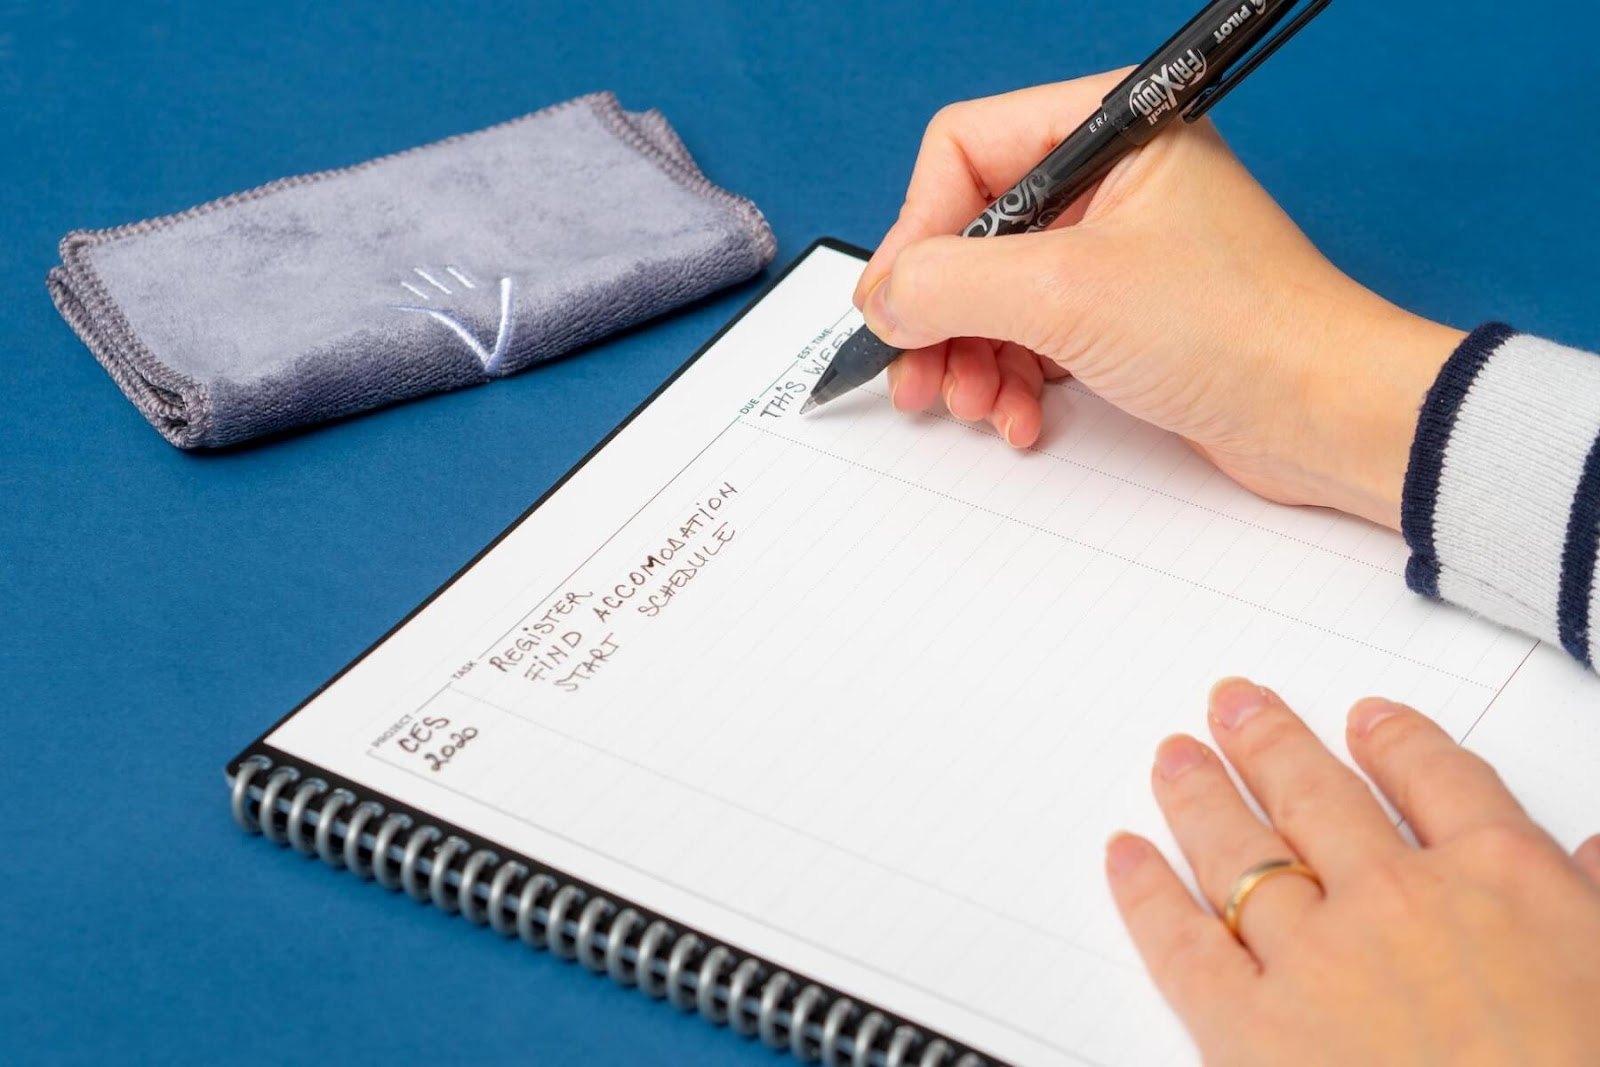
This integration of handwriting and digitization revolutionizes the notetaking process. As a student, I like taking notes with my pen and paper for retention, but I find it hard to use my notes as study materials because my handwriting is chaotic.
I also find Rocketbook’s shortcut system useful because I can easily send my scanned notes as PDFs or JPEGs to popular cloud-based storage apps such as Google Photos, OneDrive, EverNote, Box, Google Drive, and Dropbox.
Getting Started with the App
I downloaded the Rocketbook app for free at the Google Play Store, but it is also available at the Apple App Store. The app has over one million downloads and an impressive 4.7-star rating on the Google Play Store.
There are two ways to sign up in the Rocketbook app– via email or Google. I chose the sign up with Google option. After doing so, I provided my birthday before clicking Next.
Then, the app asked me whether I was a student, educator, working professional, or creative.
However, you can tap Other if your job nature does not fit into the mentioned categories. I tapped the creative/writer option and then the Submit button.
Completing My Profile
The Rocketbook app asked about my gender and provided five options – Male, Female, Non-binary/Third Gender, Other, and Prefer Not to Say. Then, I can see that it automatically indicates my age based on my birth date.
I can also tell more about myself in 150 characters. I clicked ‘Save’ after providing all the information. I also can provide a profile photo and change it anytime.
Setting Up a Folder Destination
The first mission was to set up a destination, and the Rocketbook app guided me through it after tapping ‘Let’s go!’ It showed me the Destinations screen.
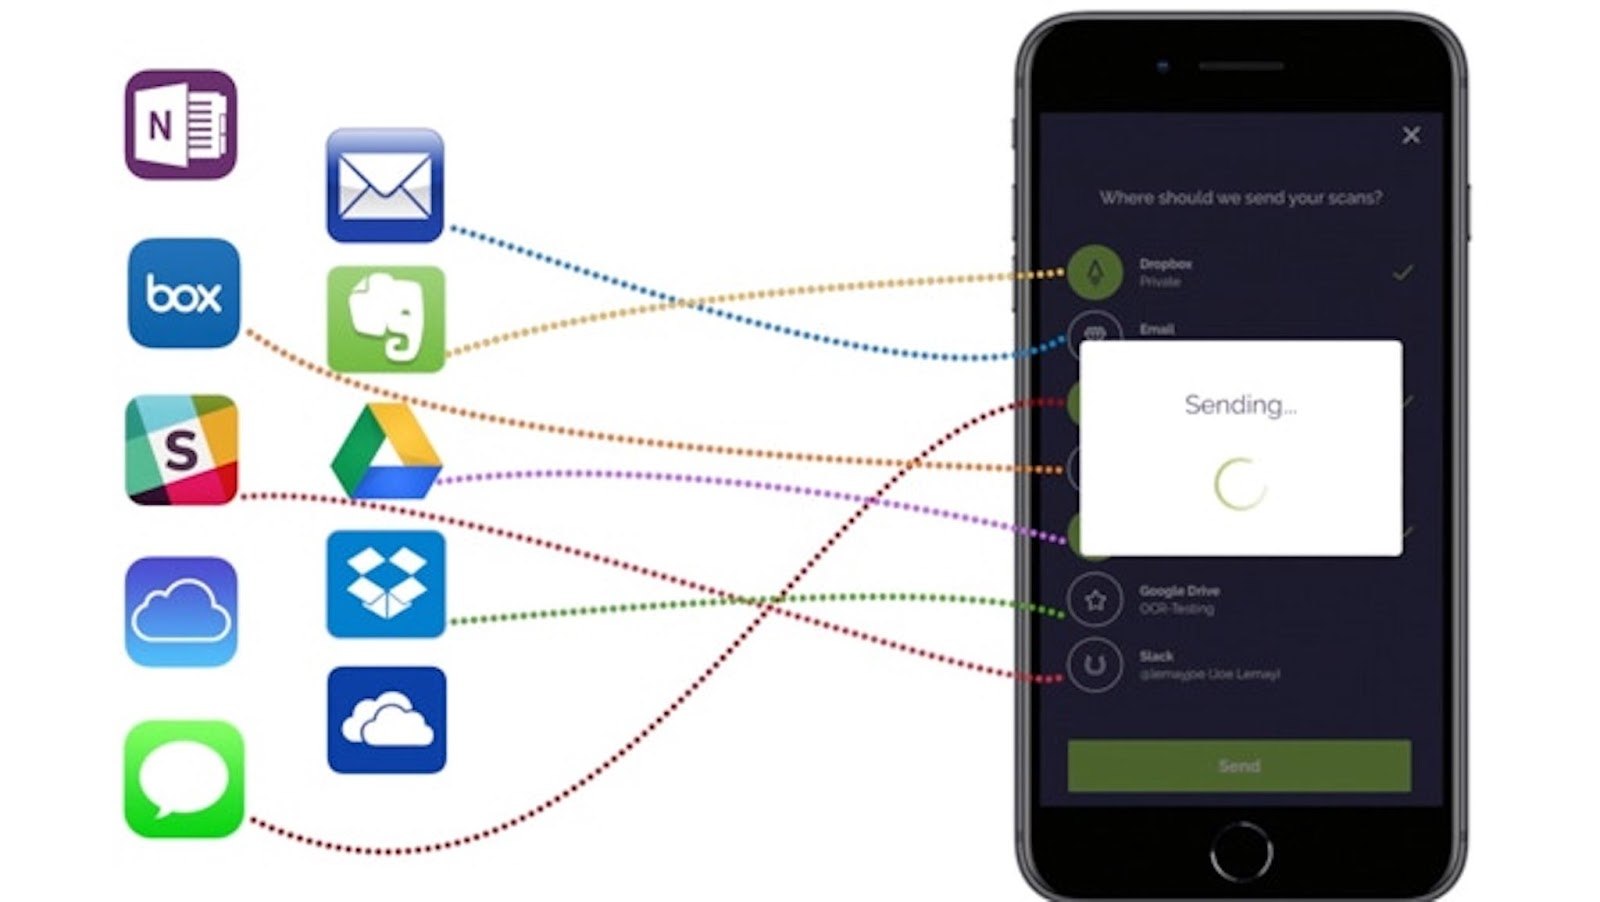
The Destinations Screen is where I set up and manage my cloud storage platforms. The different available destinations are Google Drive, Evernote, Dropbox, OneNote, OneDrive, Trello, Slack, Box, Photos, and Email. I chose Google Drive and the Gmail account that I would be using.
For the destination, I can create a new folder or choose among the available folders of my Google Drive account. I tapped the ‘Create Folder’ button, wrote a new folder name, then tapped ‘Okay’ and ‘Save.’
Changing My Destinations
However, I can still choose any supported cloud destinations and sign into my account. For some destinations, I can select or create a folder, board, channel, etc. Just don’t forget to tap ‘Save.’
To change the selected destination, I just tap on the symbol that I’d like to reassign and tap “Change Destination.”
Sending a Scan
The second mission is to send a scan, and just like what the app did in the first mission, it guided me through the process after tapping ‘Let’s go!’
I gave Rocketbook permission to take photos and record videos first. Then, I tapped on the “New Scan” icon to start capturing pages. Then I positioned the page that I wanted to scan within the screen.
It is crucial to capture the entire border of the notebook page in the scan screen to guide the app in properly cropping the page. A small thumbnail will appear at the bottom of the app screen, which is great for reviewing the capture before proceeding.
Once the scan was successful, I tapped the thumbnail to preview the pages. Once I was happy with the selection, I tapped Next and chose the destination from the Destination page. I can also manually rename my scan before exporting the scanned pages.
Auto-Sending Scans
One of my favorite features of Rocketbook is the availability of the option to auto-send my scans. This can be done by toggling the Auto-send option on the Destinations page.
I mark an X over the corresponding symbol on the page of my notebook, and after scanning that page, it is automatically sent to the destination that I want it to be in.
Using the App with Beacons
Beacons are four orange triangles that I stick to my whiteboard to make it recognizable by the Rocketbook app. It acts as a frame or border to guide the app on cropping the image that it sees on a whiteboard.
The app can either record a video or take a photo of the whiteboard. The videos can be exported as GIFs, which I absolutely love because GIFs are easy to share yet come in small file sizes. This way, they do not take up much space on my phone or in the cloud.
Moreover, the beacons are detachable and re-attachable to multiple surfaces. I love how I can bring my Beacons to school and take photos of lectures in class.
I introduced Beacons to my teachers, and they loved it, so now, they are also using Beacons to help more students in the notetaking process.
Recording Videos as GIFs
Rocketbook recorded a 5-second video of my whiteboard, where I maintain the same angle, orientation, and distance whenever I have difficulty scanning. I press ‘Okay’ to start.
After taking a video, the app will ask if I am ready to upload my video. It will be sent to Rocketbook HQ to improve their computer vision algorithm whenever I encounter difficulty scanning my whiteboard. I have the option of whether to upload or redo my video.
Sending GIFs and images captured on whiteboards with Beacon entails a similar process to exporting scanned pages. I follow the prompts and export my GIFs or images to my selected destination.
Scanning Multiple Pages with Rocketbook
The feature of scanning bundles of pages with the app is also available. However, it is not a default option, so I have to change it to be enabled. This can be done by heading to the Destinations page and toggling the Bundle Scans option.
It is important to note that once this setting has been turned on, it is impossible to use auto-send scans, and the file type will be automatically set to PDF.
The app looks for the X symbol on the icons on the bottom of the page to identify which pages are included in the bundled scan.
I then scan the marked pages in the preferred order, tap the thumbnails to preview, and then tap Next to export the file to the destination.
My Overall Experience – A Worthy App
It takes some time to set up the app for the first time, especially when using Beacons. I have to peel the stickers from the four triangles and then stick them to my whiteboard, then configure my destinations.
However, doing this is a small inconvenience compared to the app’s massive time-saving benefit of the app once everything has been set up.
Using Rocketbook’s features beats having to use my phone’s sharing/export options and navigate through tons of options before getting to the right destination.
Conclusion
The Rocketbook app is the perfect companion for users like me who love notetaking, doodling, and scribbling. It is a great way to fuse the power of technology and traditional notetaking methods.
I am excited to see how the developers of this app will continue to improve the app and make it suited for their extensive range of products. Enjoy your notetaking and make the most out of this great app for students!


